
When you offer more than a handful of services, a flat list gets hard to browse. Categories let you group services into sections like "Nails", "Massage", and "Facials". Your booking page then shows a filter bar so customers can jump straight to the type of service they want.
Creating and managing categories
- 1
Open the Categories page
Open the Categories tab at the top of the Offerings page.
- 2
Add a category
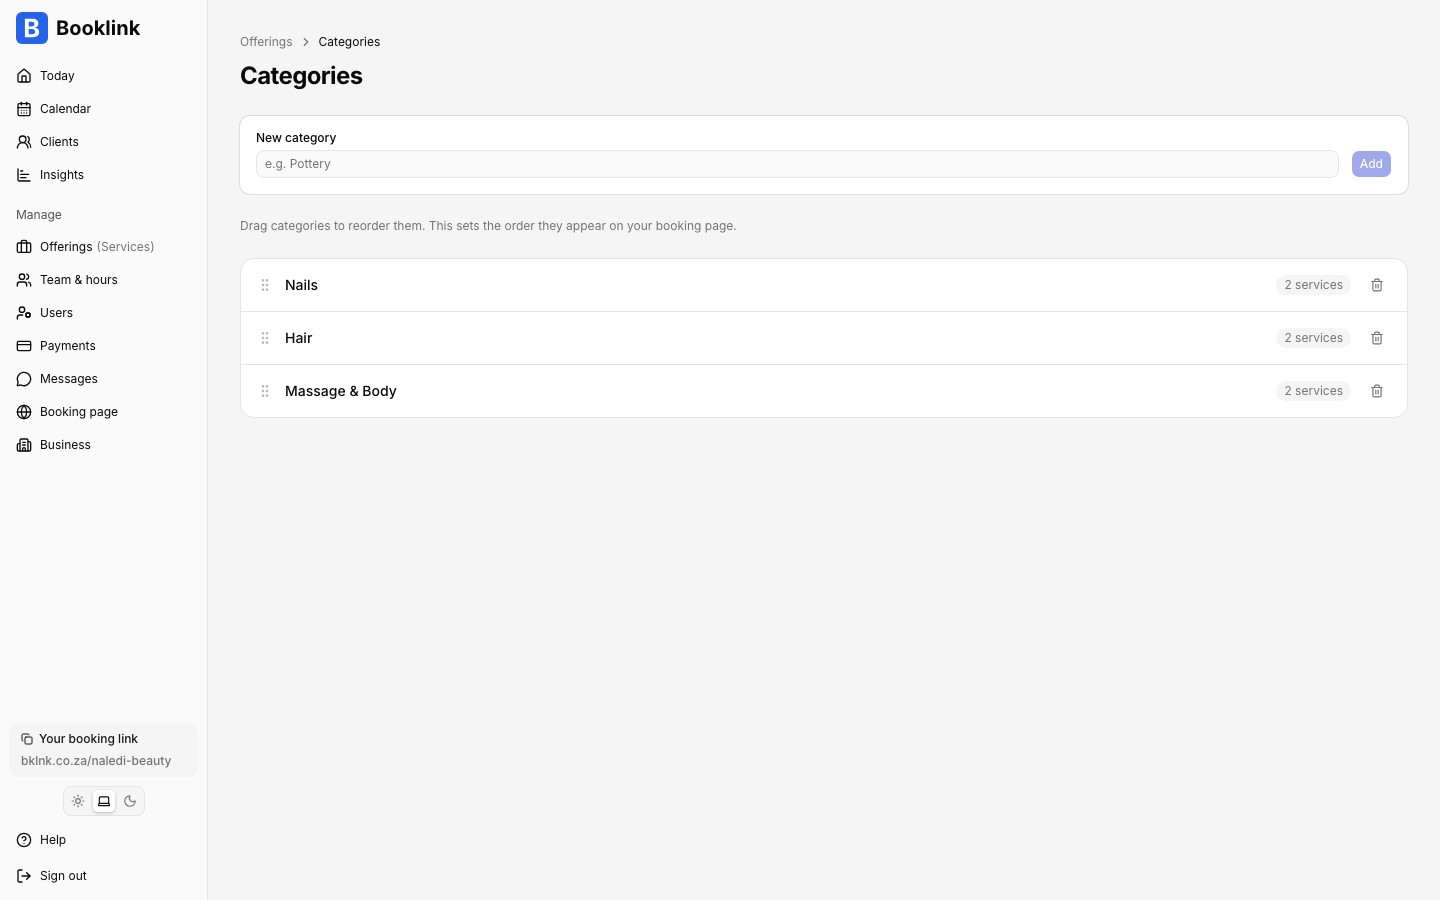
Type a name (up to 32 characters, e.g. "Massage") and click Add. Repeat for each group you want.
- 3
Reorder by dragging
Drag categories up or down using the grip handle. This sets the order the category sections and filter pills appear on your booking page.
- 4
Rename or delete
Click a category name to rename it inline. Use the bin icon to delete one. Deleting a category never deletes its services; they simply become uncategorized.
Assigning services to categories
Open a service and go to its Basics page. The Category picker lets you choose an existing category or type a brand new name to create one on the spot. Each service belongs to at most one category, and a service without a category is grouped under Other on your booking page.
What customers see
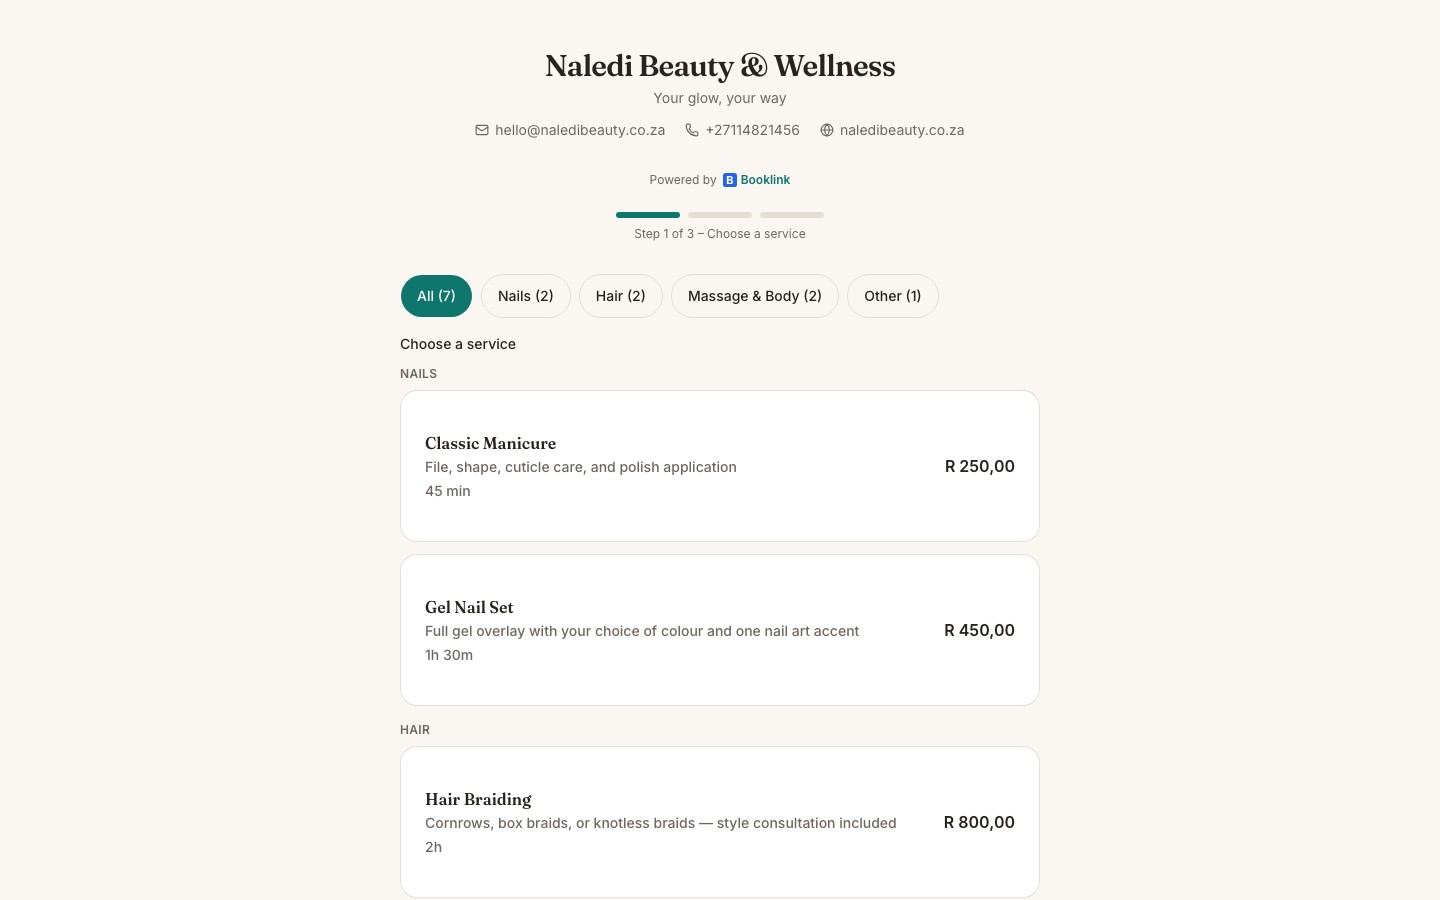
Once you have at least one category, your booking page gains a pill bar at the top of the service list: All, one pill per category (each with a count), and Other for uncategorized services. With All selected, services are listed in sections under category headings. Tapping a pill filters the list to that category.
Shareable category links
The selected category is reflected in the page URL, so you can share a link that opens your booking page already filtered to one category. See Service booking links.