
Users are the people who can log in to your Booklink dashboard. As the account owner, you can add additional users, for example a receptionist who manages bookings, a bookkeeper who needs the numbers, or a team member who checks their own schedule. What each user can see and do is controlled by their permissions.
The users list
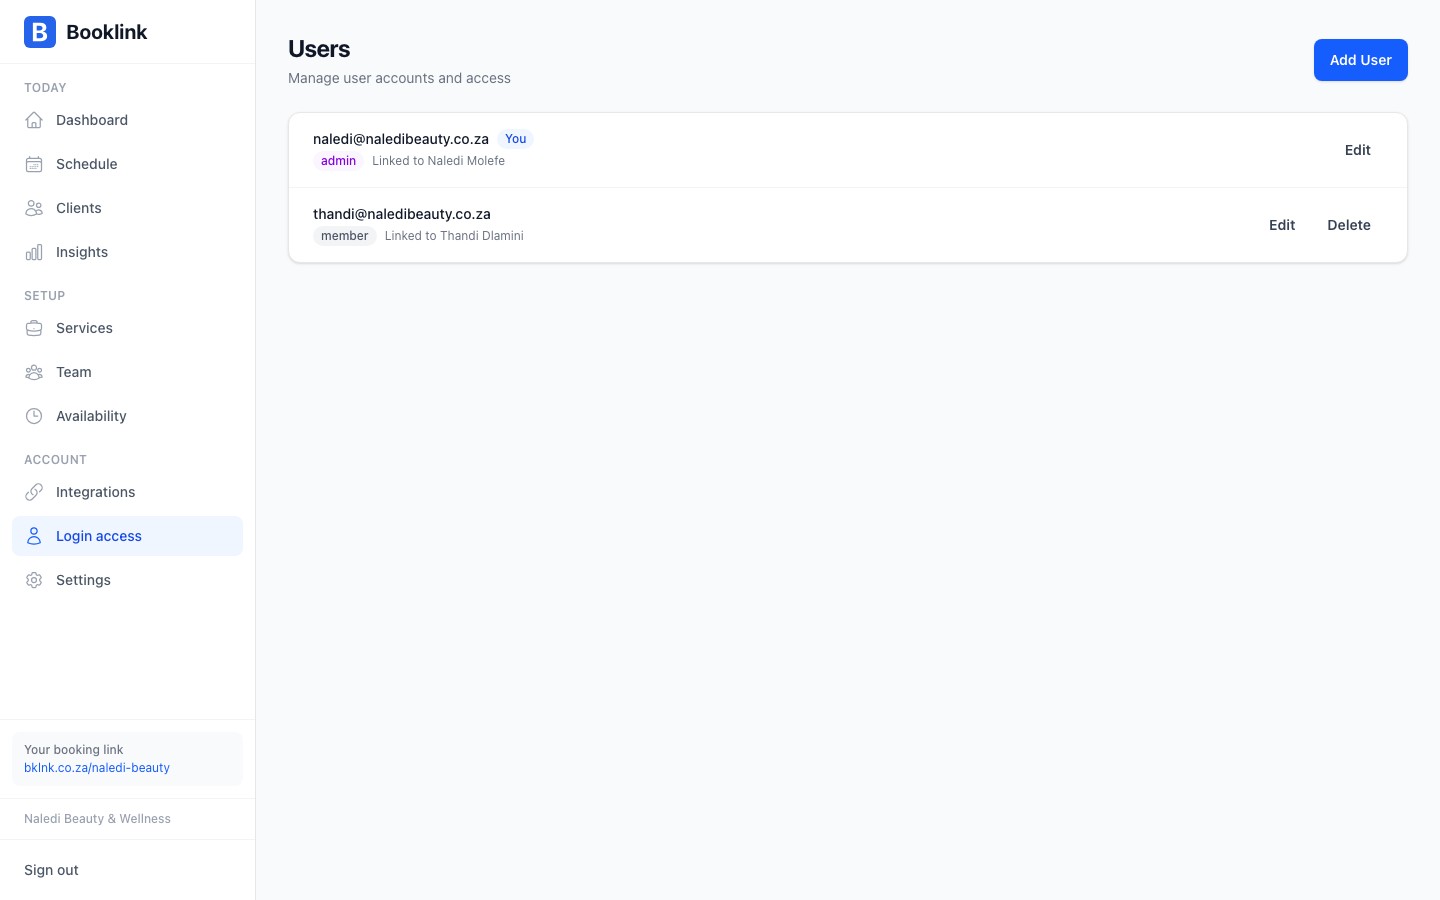
Go to Users in the sidebar to see everyone who has access to your account. Each card shows the user's email address and, where relevant, the team member they are linked to. Click a user to edit their linked team member and permissions.
Adding a new user
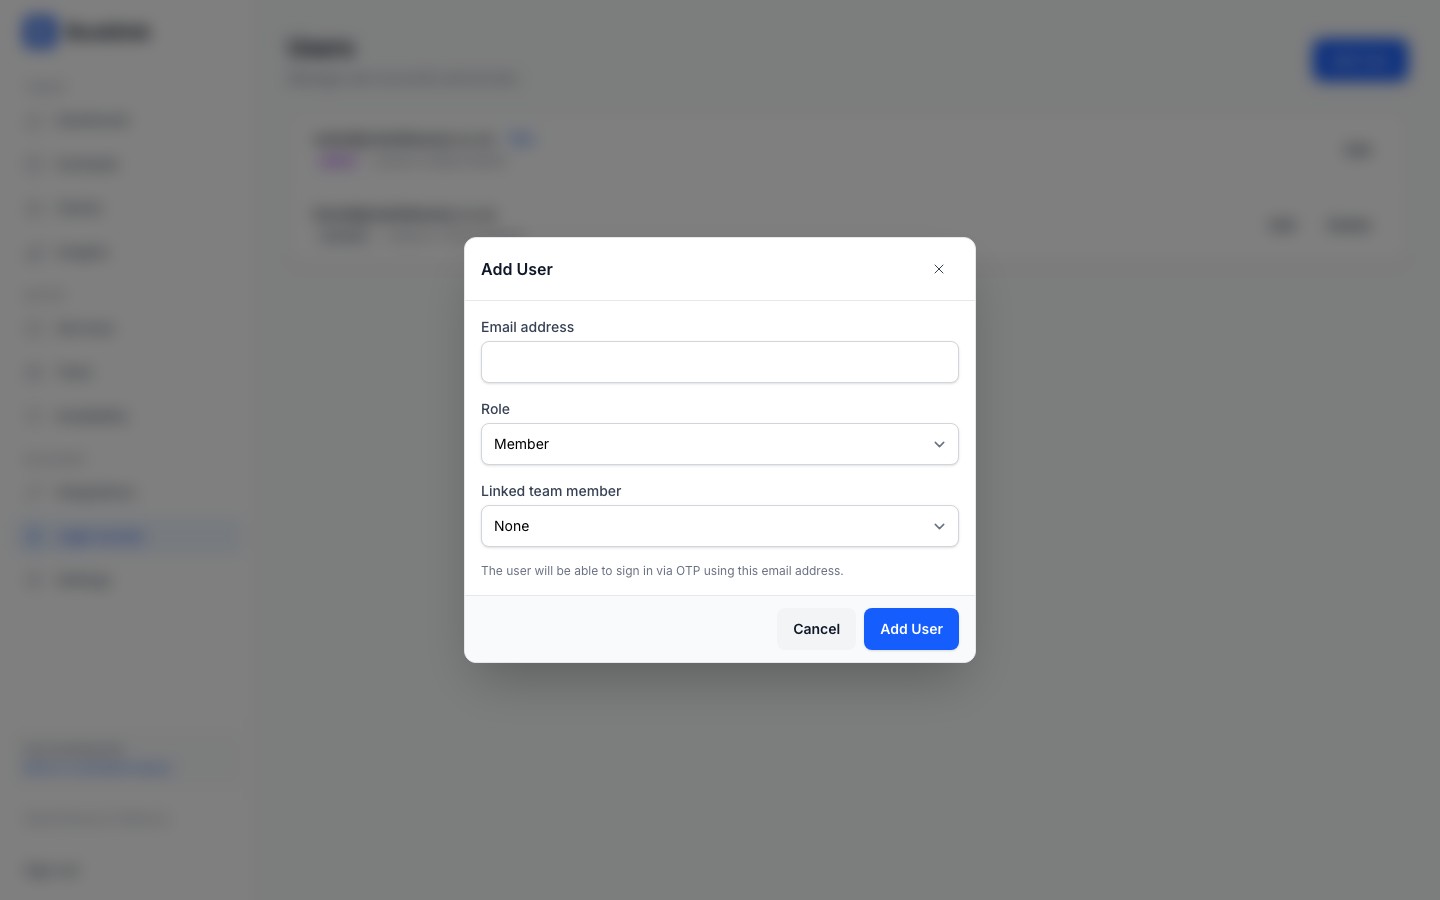
Click Add User and fill in the dialog:
- Email address: the user signs in with this address using a one-time password (OTP). There are no passwords to set up or remember.
- Linked team member (optional): connects the login to a team member profile. Needed for "Own" scoped permissions. See Linking users to team members.
- Permissions: start from a template (Owner, Front desk, or Staff), copy another user's setup, or set each area by hand. See Team permissions.
- Send welcome email: ticked by default. The new user receives an email with a link to log in. Untick it if you would rather tell them yourself.
Removing a user
To remove a user's access, click the bin icon on their card. A confirmation prompt asks you to verify before proceeding. Confirming immediately revokes their ability to log in. Their bookings, actions, and history within your account are not deleted; only the login access is removed.

Extra users are a Pro feature
The free plan includes one user (you). To add more users, upgrade to Pro from the Account settings page.You cannot delete yourself
The user you are signed in as cannot be deleted from the list. To transfer ownership of an account, contact Booklink support.